

Author: Guo

  • Release Liner Selection for Double-Sided Tape in Production

    Release Liner Selection for Double-Sided Tape in Production


    News / Product News

    Release Liner Selection for Double-Sided Tape in Production

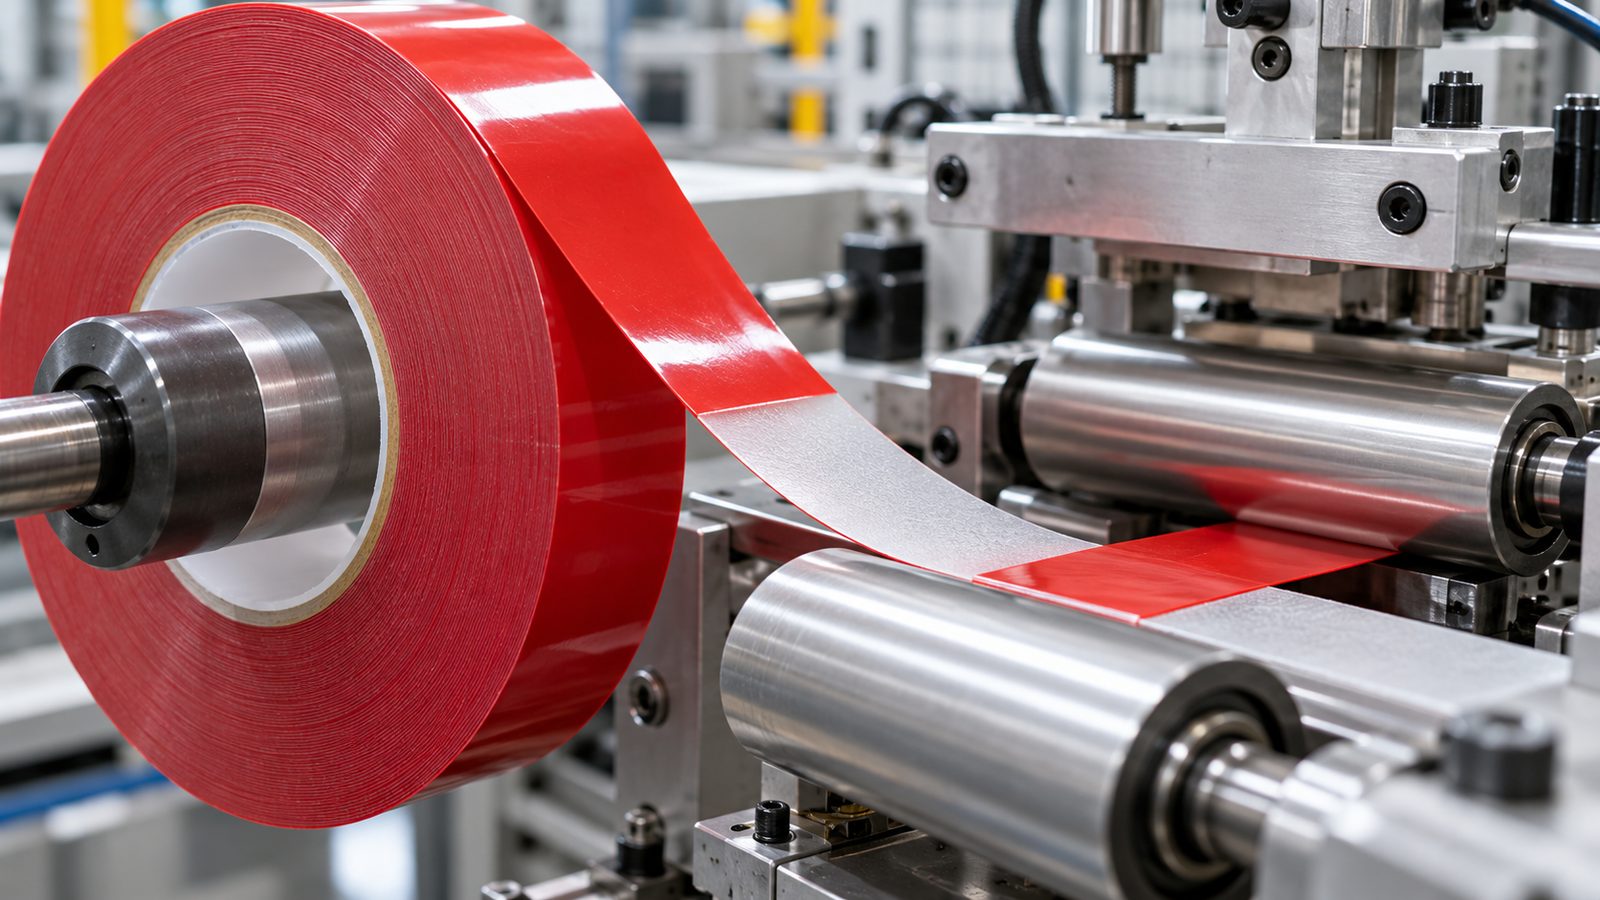
    Choosing a release liner for double-sided tape starts with how the material will be stored, converted, and applied. The liner protects the adhesive before use and helps the tape part move through production. A liner that works for hand placement may not feed reliably through an automated process.

    Start with the application method

    Is the tape applied by hand, with a fixture, or by automated equipment? Note the speed, web path, peel direction, registration needs, and whether operators need a pull tab or split liner. These requirements shape the liner choice as much as the adhesive does.

    Consider part size and stiffness

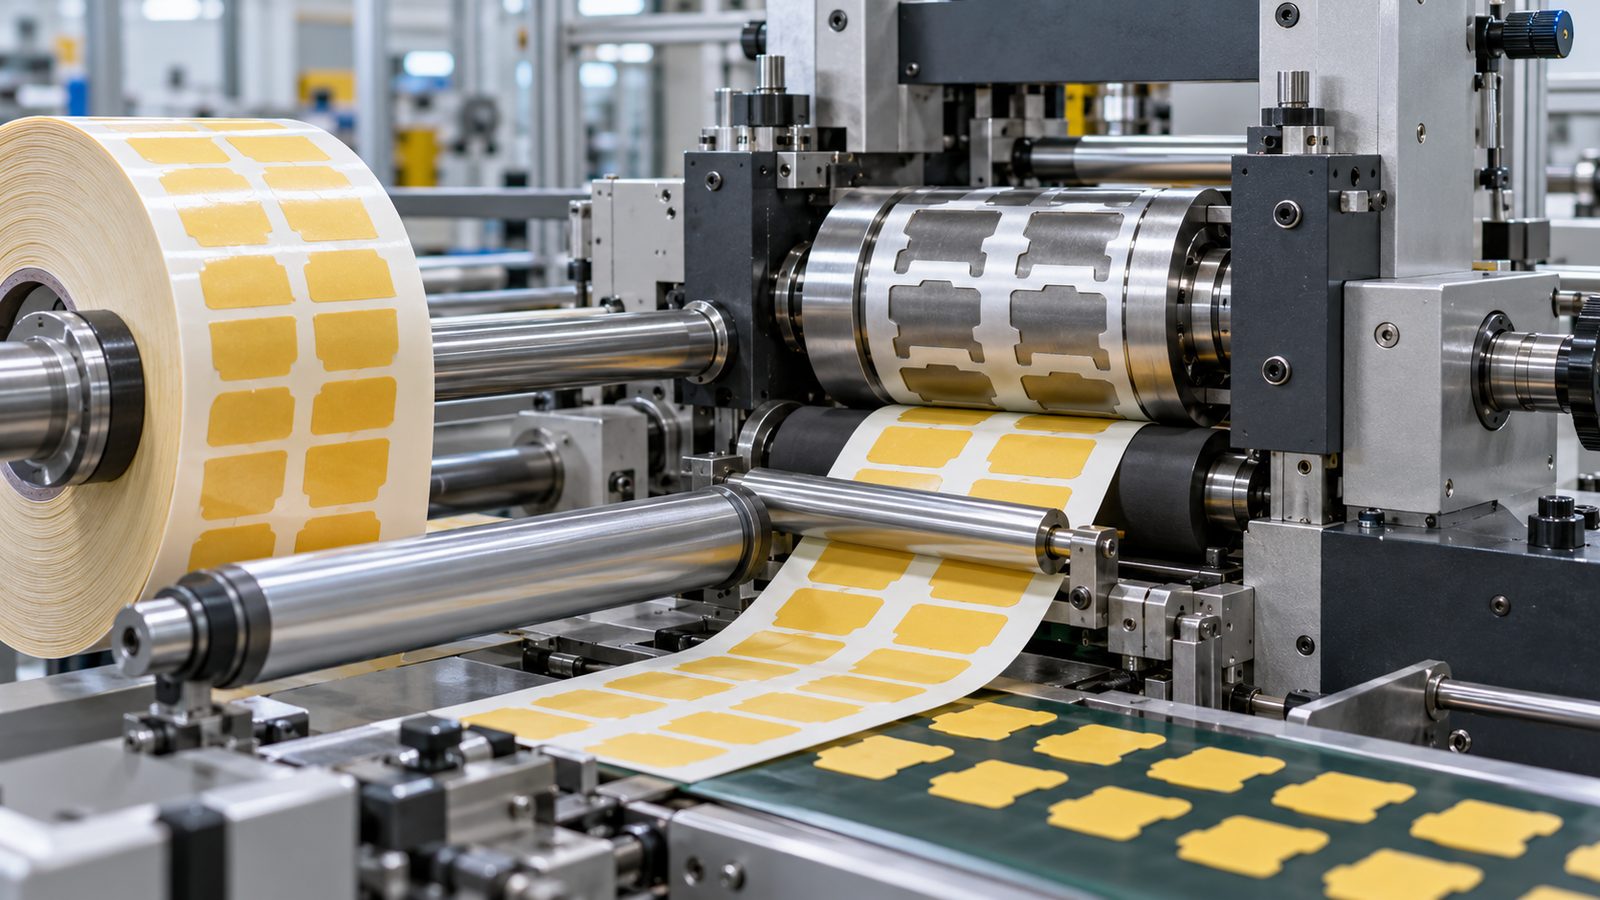
    A larger or more flexible die-cut part may need a liner that supports accurate handling. Small parts may require clean release and stable positioning during placement. Ask the converter which liner constructions are available with the chosen tape and whether the geometry is suited to the process.

    Check storage and environment

    State expected storage conditions and shelf-life requirements, and follow the product’s packaging and storage instructions. If the parts will be stored as sheets or rolls, confirm winding direction, roll diameter, splice expectations, and labels.

    Run a line trial

    Test the liner on the target equipment with production-representative parts. Observe feeding, registration, liner removal, adhesive exposure, and any residue or tearing. Document the equipment settings and material lot so that a successful setup can be repeated.

    Include liner details in the purchase specification

    The RFQ should identify the desired form—roll, sheet, or individual die-cuts—plus liner color if relevant, split or tab requirements, web direction, and any automation constraints. Confirm that the liner requested is compatible with the tape construction and converter process.

    A short line trial can prevent avoidable downtime and scrap. Treat liner selection as part of the overall tape assembly rather than as a packaging detail.

    Discuss your dispensing method and target format with JSRH Tape before finalizing a tape specification.

    Technical references: tesa industrial tape technology overview. Manufacturer guidance applies to the stated products and conditions.
  • How to Evaluate an Industrial Adhesive Tape Sample

    How to Evaluate an Industrial Adhesive Tape Sample


    News / Product News

    How to Evaluate an Industrial Adhesive Tape Sample

    Industrial adhesive tape testing is most useful when the test reflects the actual assembly. A quick hand check can screen candidates, but a production decision needs known substrates, controlled application conditions, and acceptance criteria tied to the part’s job.

    Plan an industrial adhesive tape testing sequence

    Record both substrates, finishes, bond area, joint geometry, load direction, and operating environment. Include expected exposure to temperature, moisture, vibration, UV, or chemicals where relevant. This gives the supplier enough context to suggest candidate products and tests.

    Standardize sample preparation

    Use representative parts or coupons from the same material and finish as production. Define the cleaning method, application pressure, temperature, and time between bonding and testing. Handle all candidates consistently and label each sample with product and lot information.

    Test the failure mode that matters

    Peel, shear, and tensile loads tell different stories. Choose a test method that reflects the actual joint, and document whether the failure occurred at the adhesive interface, within the adhesive, or in the substrate or coating. For safety-critical or regulated products, use the applicable industry method and qualified lab.

    Include dwell and conditioning

    Some adhesive bonds change as they develop contact with a surface. Test at relevant intervals and, where needed, after environmental conditioning that represents service. Follow the selected tape’s technical documentation and avoid treating an informal bench check as a certification test.

    Set pass criteria before comparing results

    Define acceptable movement, edge lift, appearance, load, or failure behavior in advance. Keep a record of the materials, environment, process settings, test method, and result. If a sample fails, change one variable at a time to isolate the cause.

    A repeatable test plan makes supplier conversations more productive and helps engineering teams distinguish material fit from process variation. Share the results with the supplier so the next sample round addresses a specific gap.

    Technical references: 3M VHB application guidance. Manufacturer guidance applies to the stated products and conditions.

  • Die-Cut Adhesive Tape: Design the Part and the Process Together

    Die-Cut Adhesive Tape: Design the Part and the Process Together


    News / Product News

    Die-Cut Adhesive Tape: Design the Part and the Process Together

    A die-cut tape part combines adhesive material, liner, geometry, and a placement process. The best starting point is a drawing and a clear description of how the part will be applied—not a shape considered in isolation.

    Send a production-ready drawing

    Include the part outline, critical dimensions, tolerance requirements, orientation, and any keep-out zones. Identify which dimensions control fit or function. If the part is applied by a robot or fixture, include the required web direction and placement reference.

    Match the construction to the surfaces

    Name both substrates and their finishes. Describe the expected loads and service environment, and note whether the tape must bond to foam, plastic, metal, glass, or a coated surface. The material choice should be confirmed with samples and the technical data for the specific construction.

    Choose a liner for handling

    The release liner can affect part stiffness, dispensing, registration, and ease of removal. For manual placement, the operator may need a tab or split liner. For automated application, liner stiffness, web direction, and consistent release can influence feeding. Validate these details with the actual equipment.

    Discuss converting limits early

    Ask the converter to review small radii, narrow features, bridges, holes, waste matrix removal, and the relationship between part pitch and web width. Some shapes may be possible but difficult to weed or handle at the desired rate. Early feedback can prevent a late redesign.

    Build a sample loop

    Confirm the first article against the drawing, then test it on the actual part and application process. Review alignment, liner removal, edge quality, and finished-bond performance. After approval, keep the drawing revision and material specification aligned with purchasing documents.

    For a useful quotation, provide a PDF or CAD drawing, annual or monthly demand range, target delivery format, substrate details, placement method, and any quality documentation requirements. These details allow supplier and buyer teams to assess the complete converting job.

    Technical references: tesa industrial tape technology overview. Manufacturer guidance applies to the stated products and conditions.
  • Aluminum Foil Tape for HVAC: What to Check Before Ordering

    Aluminum Foil Tape for HVAC: What to Check Before Ordering


    News / Product News

    Aluminum Foil Tape for HVAC: What to Check Before Ordering

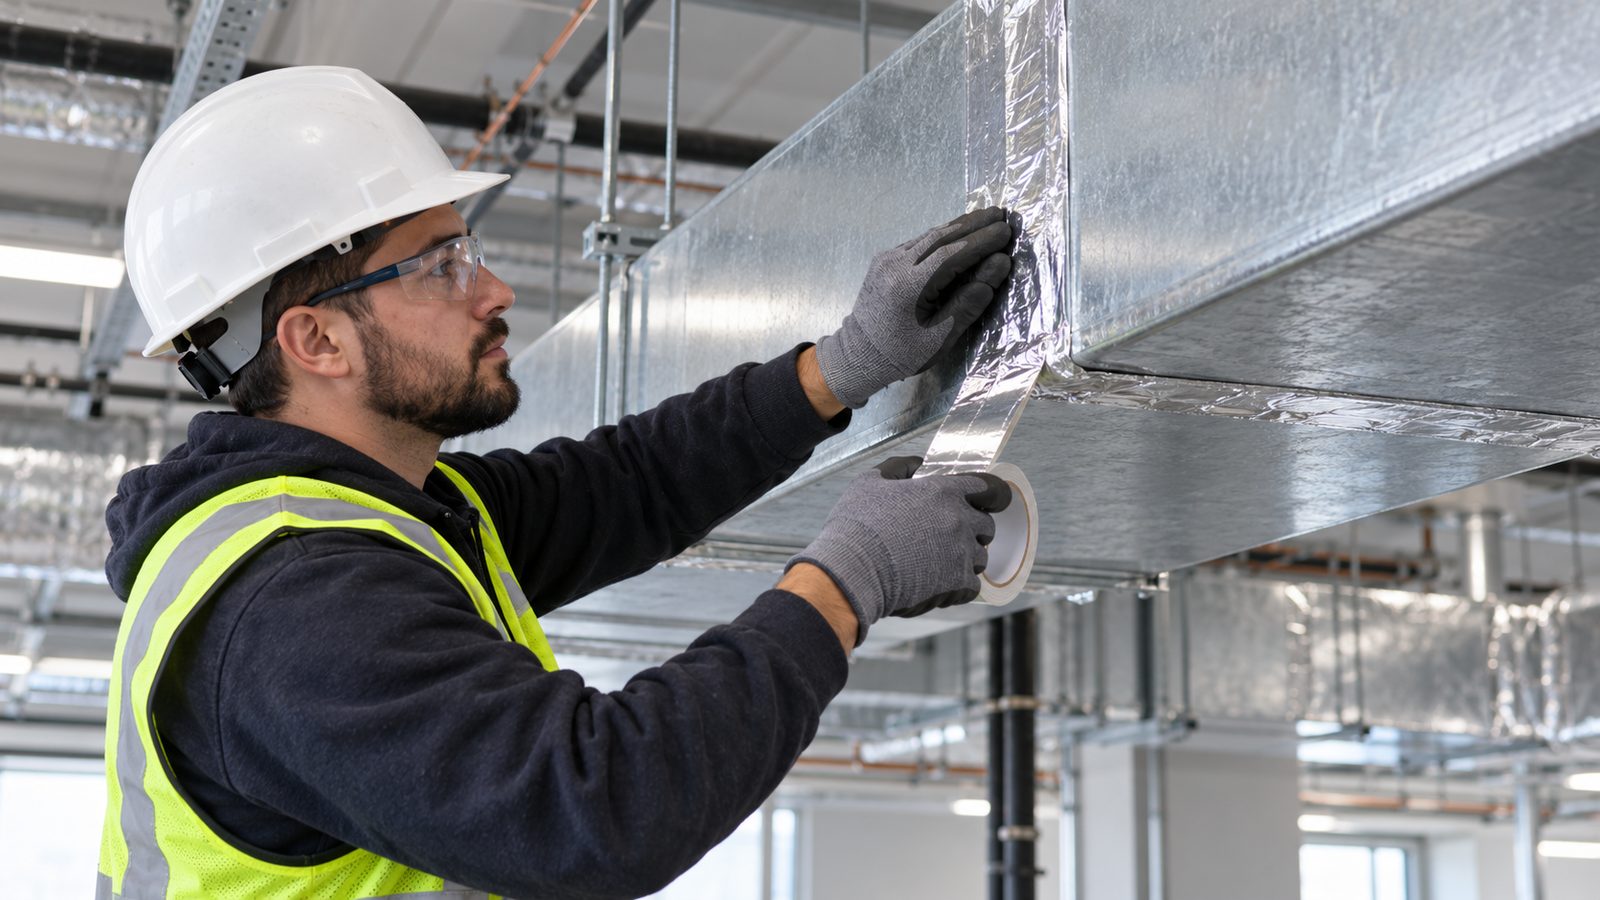
    Aluminum foil tape is used in HVAC work for tasks such as joining, sealing, patching, or shielding, depending on the product design. Before ordering, match the tape’s backing and adhesive to the duct material, service conditions, and applicable project requirements. “Foil tape” alone does not identify a complete specification.

    Define the job

    Describe whether the tape will seal a seam, cover insulation, attach a facing, or perform another function. The joint design and expected exposure affect what the tape must do. Confirm whether the tape will see condensation, airflow, outdoor exposure, temperature cycling, or contact with other materials.

    Compare technical data

    Review the product’s stated service-temperature range, backing, adhesive type, thickness, and recommended substrates. Check whether the manufacturer provides relevant approvals or compliance documentation for the intended use. Do not infer a temperature or code rating from another foil tape or from the aluminum backing itself.

    Plan for installation

    The surface should be suitable for bonding and prepared according to the product instructions. Consider ambient and surface temperature during application, access to the joint, tape width, overlap, and pressure. A tape that is difficult to handle in the installed location may slow the crew or create inconsistent seams.

    Verify supply format

    For field work, roll width and length may affect handling and waste. For OEM production, liner choice, slit width, and converting format may matter more. Ask the supplier to confirm available widths and packaging before locking the bill of materials.

    Test the assembly where needed

    For critical projects, evaluate a representative duct or insulation assembly, including the actual surface finish and environmental exposure. If local codes or project specifications apply, obtain written product documentation and verify it with the responsible project authority.

    A strong purchase specification states the application, substrate, exposure, required documentation, dimensions, and packaging. This prevents a generic “aluminum tape” description from being mistaken for a complete technical requirement.

    Share your HVAC substrate, application, and required documentation with JSRH Tape for a product review.

    Technical references: 3M Aluminum Foil Tape 425 technical data sheet. Manufacturer guidance applies to the stated products and conditions.

  • How to Choose Foam Tape for a Bond Between Uneven Surfaces

    How to Choose Foam Tape for a Bond Between Uneven Surfaces


    News / Product News

    How to Choose Foam Tape for a Bond Between Uneven Surfaces

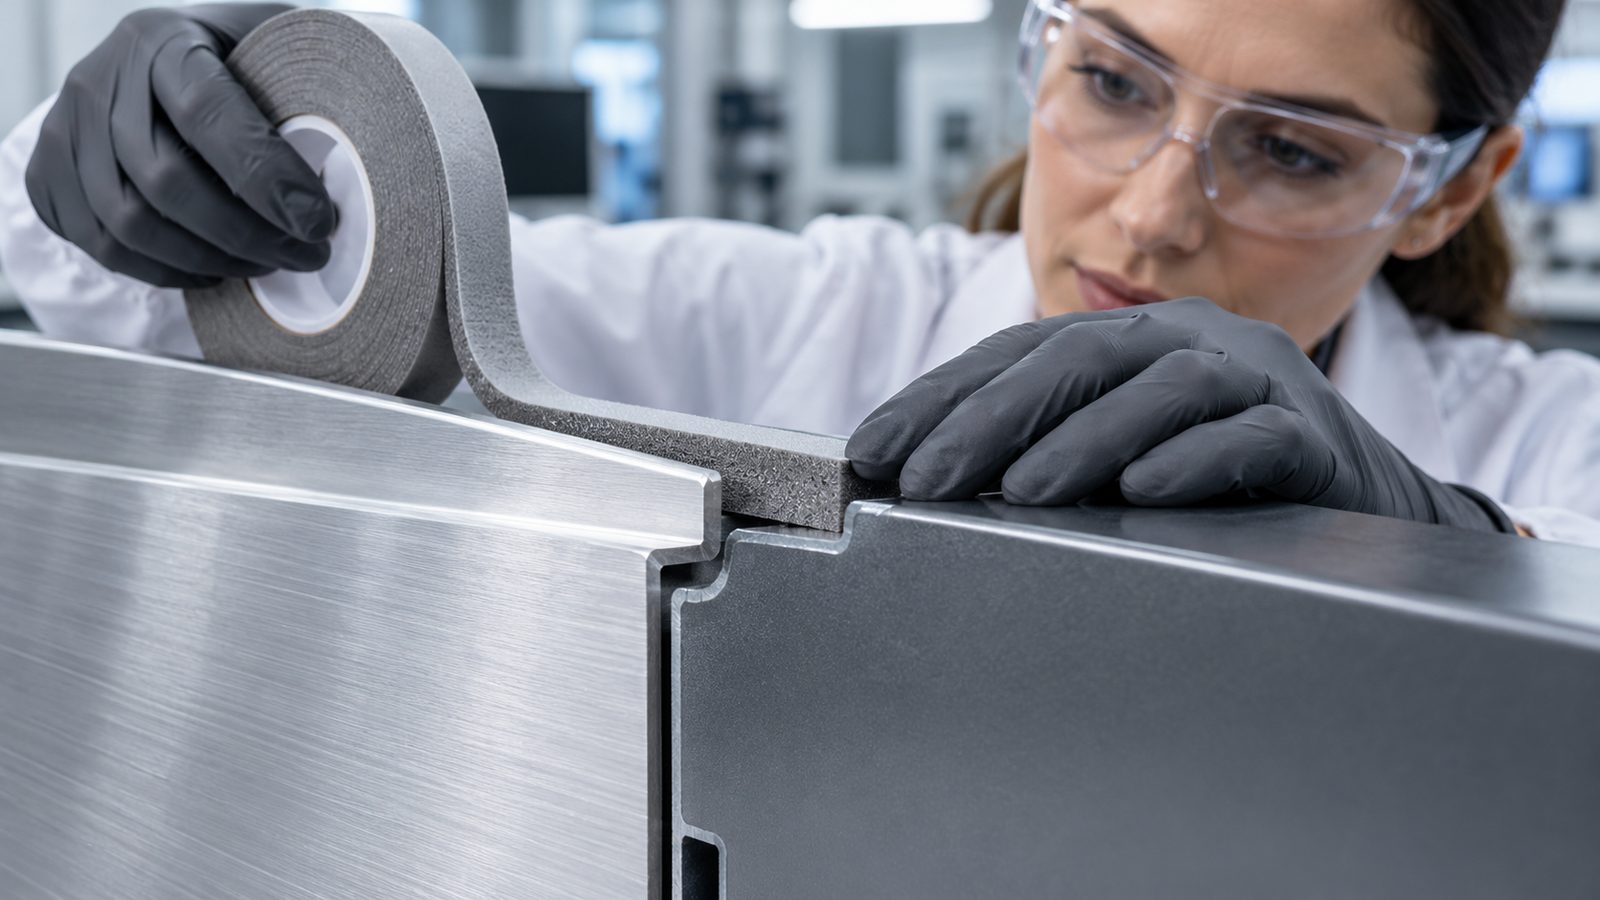
    Foam tape can help bridge small surface irregularities because its compressible construction conforms to the parts being joined. The right choice still depends on the surface, gap, bond area, loads, and environment. Start by describing the assembly rather than choosing by tape thickness alone.

    Measure the joint

    Record the gap across the full part, not just at one convenient point. Note whether the surfaces are flat, curved, textured, or slightly mismatched. A thicker foam may accommodate more variation, but it also changes the bond-line geometry and may affect appearance, movement, and edge loading.

    Check both substrates

    List each substrate separately, including coatings and surface finishes. A tape that bonds well to one side may be limited by the other. For dissimilar materials, consider how they expand, flex, or move differently over temperature changes and normal use.

    Map the load and environment

    Is the joint mainly exposed to shear, peel, tension, impact, or a mix? Is it indoors or outdoors? Could it encounter moisture, UV, cleaning chemicals, heat, or vibration? These details help narrow candidate adhesive families and identify tests needed before production.

    Consider assembly and conversion

    Foam tape may be supplied in rolls, slit widths, sheets, or die-cut shapes. The liner should suit manual or automated placement and should be removable without disrupting the part. For production, also review placement tolerances, part geometry, storage, and how operators will locate the tape.

    Validate the actual assembly

    Prepare representative samples using the production surface and process. Keep application pressure and dwell consistent, then test the conditions that matter for the finished part. A datasheet is a starting point; the assembly trial checks fit with your actual materials and geometry.

    The most useful RFQ includes substrate names and finishes, target gap, bond area, service conditions, required format, and expected monthly usage. With those details, a supplier can recommend candidate constructions and samples for evaluation.

    Technical references: tesa industrial tape technology overview. Manufacturer guidance applies to the stated products and conditions.
  • A Better Adhesive Tape Bond Starts Before the Tape Is Applied

    A Better Adhesive Tape Bond Starts Before the Tape Is Applied


    News / Product News

    A Better Adhesive Tape Bond Starts Before the Tape Is Applied

    Adhesive tape surface preparation often starts before the tape touches the part. Oil, dust, moisture, release agents, and inconsistent handling can all change the contact between a pressure-sensitive adhesive and its substrate. A repeatable surface-preparation and application routine gives engineering and production teams a better starting point for evaluating industrial tape.

    Adhesive tape surface preparation: start with the real substrate

    Identify the exact material and finish on both bonding surfaces: for example, painted metal, powder-coated steel, glass, ABS, or a low-surface-energy plastic. “Metal” or “plastic” is not specific enough for a meaningful trial. Coatings, texture, additives, and process residues can affect results.

    Keep adhesive tape surface preparation clean and dry

    Remove visible dust and contamination using a method compatible with the substrate and workplace requirements. The appropriate cleaner depends on the material and residue; confirm compatibility before use and allow the surface to dry fully. 3M’s VHB application guidance likewise treats cleaning as a core step and notes that some surfaces may require additional preparation. Do not assume one cleaning recipe is suitable for every substrate.

    Control contact and pressure

    Handle prepared parts with clean gloves where practical. Apply tape without stretching it, then press or roll it firmly so the adhesive can make close contact with the surface. Record the tape, substrate, cleaning method, application pressure, temperature, and time between application and testing. Follow the tape supplier’s technical data and safety instructions for the selected product.

    Test the assembled part, not just a coupon

    A quick peel check can reveal obvious process variation, but the finished assembly may see shear, edge lift, vibration, heat, humidity, or fluid exposure. Build a trial that reflects the actual part geometry and operating environment. Compare samples after the relevant dwell and conditioning periods.

    A useful production checklist

    Before release, confirm the substrate and finish, cleaning method, dry time, tape lot and liner, application pressure, operator instructions, and acceptance criteria. If results vary, change one process variable at a time and document the result.

    Surface preparation does not replace correct tape selection. It helps teams evaluate a candidate tape under controlled conditions and makes process issues easier to find. For a recommendation, share the substrates, bond area, service conditions, and converting format with your tape supplier.

    Technical references: 3M VHB application guidance. Manufacturer guidance applies to the stated products and conditions.

  • Comparing Industrial Tape Quotations

    Comparing Industrial Tape Quotations


    News / Product Guide

    Comparing Industrial Tape Quotations

    Use the same material, dimensions and delivery terms when comparing offers.

    Compare the specification before the price

    Two industrial tape quotations can look similar while covering different products. One may include a specified branded material; another may quote an alternative. One roll may include more liner or a different usable length. Start with a shared specification and ask each supplier to identify any departure from it.

    For a panel assembly, for example, record both surface materials and their finishes. “Metal to plastic” leaves too much open: coated steel, bare aluminum and different plastic grades need separate consideration.

    Put these items on one comparison sheet

    • Material: manufacturer and exact reference, adhesive type, backing or carrier, color and release liner.
    • Dimensions: thickness basis, finished width, usable length, core size and dimensional tolerances.
    • Quantity: rolls or finished pieces, pack size and the quantity break used in the offer.
    • Converting: slitting, lamination, die-cut geometry, liner handling and any tooling charge.
    • Commercial terms: currency, named delivery place, shipping basis, freight, taxes, payment terms and quotation validity.

    Separate roll cost from finished-part cost

    When the job uses shaped pieces, compare the cost per usable part. Ask whether setup, tooling, waste removal, packing and inspection are included. Request the drawing revision and confirm which dimensions will be checked at approval.

    tesa’s converter resources show options such as kiss-cut parts, finger-lift tabs and perforated sections. Those options help frame the discussion; they do not establish that every material or supplier supports the same process. Ask JSRH to confirm feasibility for the actual design.

    Approve a material, not an unnamed equivalent

    Keep a proposed alternative on a separate line. Request its technical data sheet and a sample that represents the proposed supply format. For a test plan, use our tape sample evaluation checklist. A product-family name alone is not evidence of equivalence.

    Before placing the order, attach the accepted specification, drawing revision and packing requirements to the purchase record. Note any open item, its owner and the evidence needed to close it.

    Send a comparable enquiry

    Browse foam tape, double-sided tape and transfer tape by application. Shenzhen JSRH ST CO., LTD can review an enquiry once the material reference or intended use, dimensions, quantity and delivery country are provided. Availability, documentation and processing terms are confirmed per request.

    Technical references: tesa: Tape Technology for Converters. Manufacturer guidance applies to the stated products and conditions.

  • Planning a Tape Sample Evaluation

    Planning a Tape Sample Evaluation


    News / Product Guide

    Planning a Tape Sample Evaluation

    Define your application and acceptance criteria before comparing samples.

    Decide what the sample must prove

    A tape sample evaluation should answer a production question. Will the joint remain aligned? Can an operator remove the liner without stretching the part? Does the adhesive suit the specified finish? Write down the requirement before opening the sample pack.

    Use actual production substrates where possible. Record the material grade, coating, surface texture and supplier. A smooth laboratory panel may not represent a textured housing or a powder-coated frame.

    Keep the application process consistent

    3M’s VHB application guidance treats cleaning, tape application and final pressure as separate steps. Its surface-preparation guidance also identifies exceptions for oily, porous and other difficult surfaces. Follow the instructions for the selected tape and substrate rather than applying one cleaning method to every material.

    Before using a cleaner, check material compatibility and its safety instructions. Let the prepared surface dry. Record the application tool and method so another operator can repeat the trial. Avoid touching a prepared bonding area.

    Use a short, traceable trial record

    • Sample identity: exact tape reference, lot information if supplied, thickness, format and receipt date.
    • Substrates: grade, coating, finish and any change from normal production.
    • Preparation: cleaner, treatment and drying procedure.
    • Assembly: bond area, alignment, application pressure or tool setting, and temperature.
    • Timing: dwell time before handling, loading and inspection.
    • Outcome: the agreed measurement, visible defects, photographs and the failure location if a bond separates.

    Check the joint under relevant conditions

    Choose checks that match the job: sustained loading for a hanging part, edge lift for a trim piece, or liner removal for a small die-cut component. Define the load, duration and acceptance criteria with the responsible engineer. Do not substitute a quick hand pull for a specified test method.

    For VHB tapes, 3M describes bond build over time. Compare specimens at the same recorded dwell time. This does not set a universal cure or approval time for other adhesive families.

    Turn the result into a purchasing decision

    Approve the sample against the agreed criteria, or record what must change before another trial. Keep the accepted material and assembly method together. A different coating, cleaner, tape construction or part geometry may justify a new evaluation.

    See foam tape and double-sided tape options, then send JSRH your substrate details and trial requirements. Sample evaluation supports selection; it does not certify an untested application.

    Technical references: 3M: Applying VHB Tapes · 3M: Surface Preparation for VHB Tape Applications. Manufacturer guidance applies to the stated products and conditions.
  • Preparing an Industrial Tape Enquiry


    News / Product Guide

    Preparing an Industrial Tape Enquiry

    A clear enquiry starts with the application, dimensions and delivery destination.

    Describe the job before choosing a tape

    An industrial tape enquiry is easier to review when it starts with the assembly. Explain which two surfaces meet, what the tape must do and how the part will be handled. If a previous tape failed, include photographs and describe the failure without assuming its cause.

    State any known material reference. If no reference is fixed, distinguish essential requirements from preferences. “Clear tape for a display trim” is a starting point, not a complete specification.

    Send the information that changes selection

    • Surfaces: material grade, coating, roughness and whether the joint is flat or curved.
    • Service conditions: indoor or outdoor use, temperature range, moisture, chemical exposure and the type of load.
    • Assembly: manual or automated application, access to the joint, liner-removal needs and expected handling time.
    • Format: roll width and length, or a dimensioned part drawing with units and revision.
    • Order: trial quantity, expected repeat demand, packing preference and destination country.

    For converted parts, include the liner and handling

    A drawing should identify the adhesive area as well as the outside shape. Show holes, narrow sections and features that must stay free of adhesive. State whether the part should arrive on sheets, as individual pieces or on a continuous liner. Identify tolerances that matter to fit or assembly.

    tesa’s converter information illustrates kiss-cutting, liner divisions and temporary fixing aids. Use those as discussion points when a part is hard to pick or place. Ask the supplier to confirm the material and format together; a possible process is not a promise of available capacity.

    Ask for a defined response

    Request the proposed construction, technical data sheet, dimensions, sample format and any unresolved assumptions. For transfer tape or double-sided tape, clarify whether the proposal uses a carrier and which liner is included. Request evidence for any certification required by the project.

    If you permit alternatives, ask for the reason for each alternative and what must be evaluated before acceptance. Use the quotation comparison checklist to keep the commercial review consistent.

    A simple enquiry you can send

    “We need tape to join [surface A and finish] to [surface B and finish]. The application is [use and conditions]. The required format is [roll dimensions or drawing revision]. Please quote [quantity] for delivery to [country and named destination], and confirm the proposed material, documentation and sample options.”

    Send the completed enquiry to Shenzhen JSRH ST CO., LTD. Share the specification available today and clearly mark what still needs confirmation.

    Technical references: tesa: Tape Technology for Converters. Manufacturer guidance applies to the stated products and conditions.

Contact Us

    Complete the form below. For a more accurate response, include the product model, estimated quantity and destination country.


    WhatsApp / phone is required. Email is optional.